Before creating your first research project in Error Analyzer, you must complete a one-time setup that connects the application to its analytical engine. This activation step unlocks advanced AI features, including automated grammatical analysis and the interactive AI Chat. Once completed, you will not need to repeat it.
Step 1: Redirect to the Settings Page #
On your very first attempt to create a new project, the application will automatically redirect you to the Settings page. This behavior is intentional. Error Analyzer requires an API key before it can access the AI services that power its linguistic and generative features. The Settings page is where you provide this information.

Step 2: Understanding the API Key #
At the top of the Settings page, you will see a field labeled Google API Key.
- What it is: An API key is a unique alphanumeric code provided by Google that authorizes your application to use its AI services. It functions like a personal library card, giving Error Analyzer permission to run linguistic analyses and generate AI-assisted insights on your behalf.
- Why it matters: By using your own key, you ensure that all requests are tied to your Google account. This arrangement guarantees that your research activity remains private and traceable to you, without being mixed with other users.
Step 3: Obtaining Your Personal API Key #
To obtain a key, you must create a small configuration project on the Google Cloud Console:
- Open Google Cloud Console and sign in with your Google account.
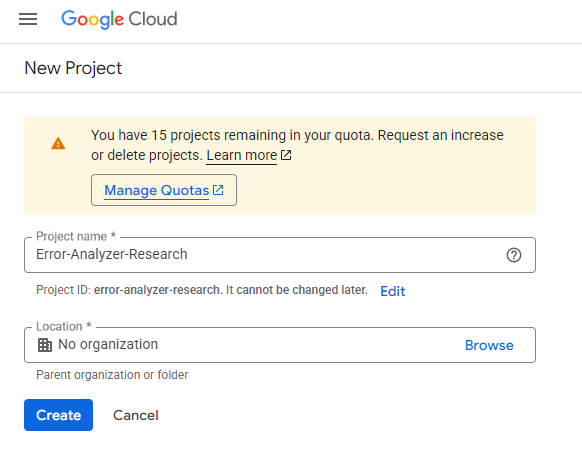
- Click the project dropdown at the top and choose New Project. Give it a simple, descriptive name, such as Error-Analyzer-Research.
- In the search bar at the top, type Gemini API.
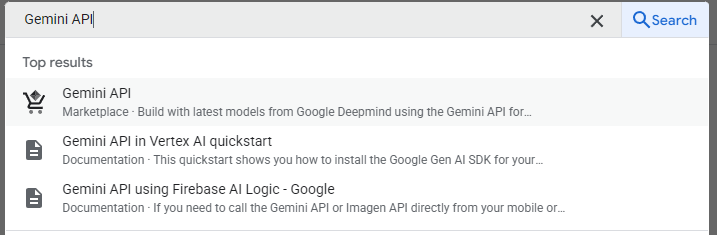
- Select it and click Enable. This step activates the service that Error Analyzer requires.

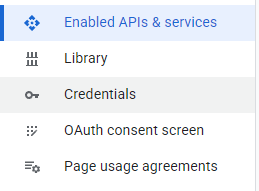
- Navigate to APIs & Services > Credentials.
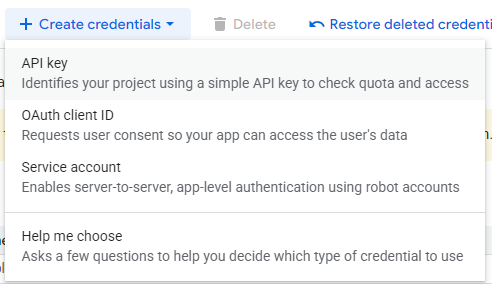
- Click + CREATE CREDENTIALS and select API key.
- In the “Create API key” dialog:
- Enter Name: Gemini API Key.
- Under API restrictions, select Restrict key → Generative Language API.
- Click Create.
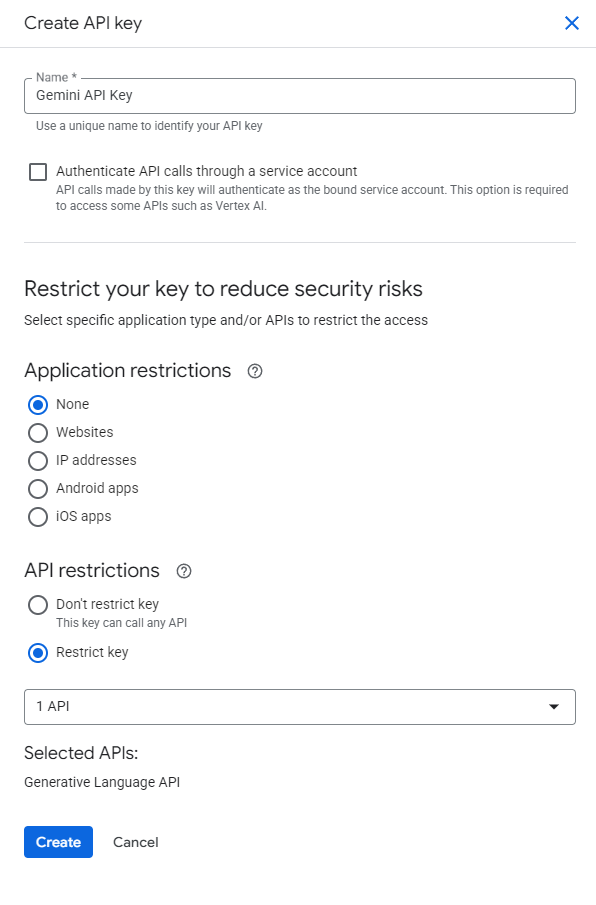
- Copy the generated key.
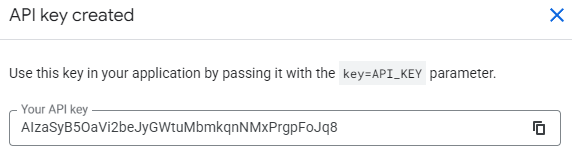
Storing the key:
- Keep your key private. Do not share it publicly.
- You may paste it directly into the Error Analyzer Settings page.
Step 4: Entering the Key in Error Analyzer #
Return to the Settings page in Error Analyzer.
- Paste the copied key into the Google API Key field.
- Click Save Settings.
Step 5: Creating a Service Account for the NLP Service #
Before using the NLP features in Error Analyzer, you must activate the Cloud Natural Language API in your Google Cloud project.
- Go to the Google Cloud Console.
- At the top, make sure the correct project is selected.
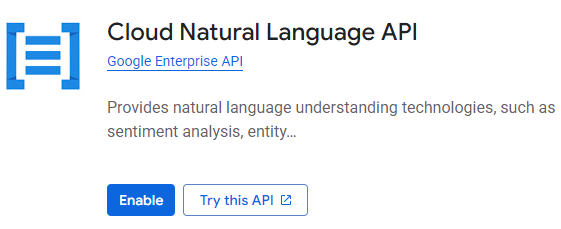
- In the search bar, type Cloud Natural Language API.
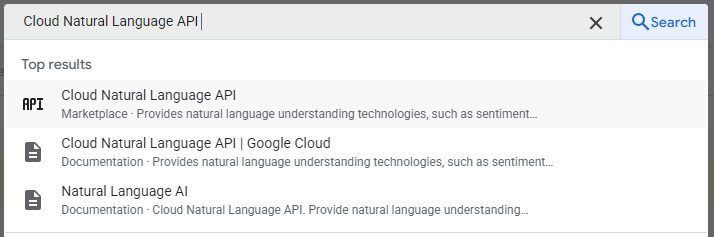
- In the results, click the first entry labeled Cloud Natural Language API (with the API icon).
- On the API details page, click the Enable button.
Once enabled, the API will be active for your project, and you can proceed to create a Service Account key and upload it into Error Analyzer.
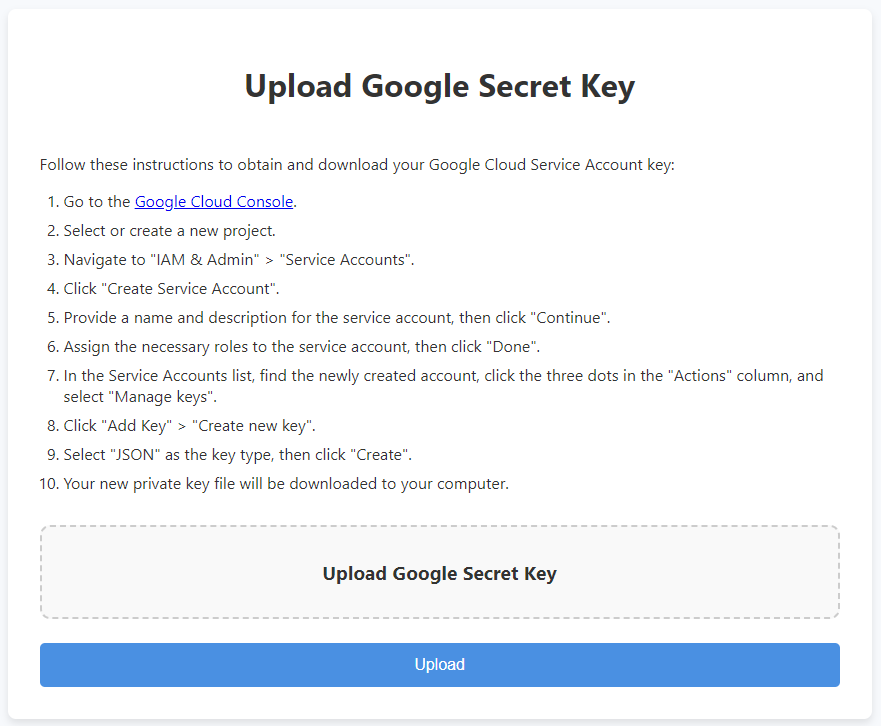
To enable the NLP features in Error Analyzer, you’ll need to create a Google Cloud Service Account key and upload it into the application. Follow these steps:
- Navigate to Credentials.
- Click + Create Credentials → Service Account.
- Enter a name and description (for example NLP Service Account), then click Create and Continue.
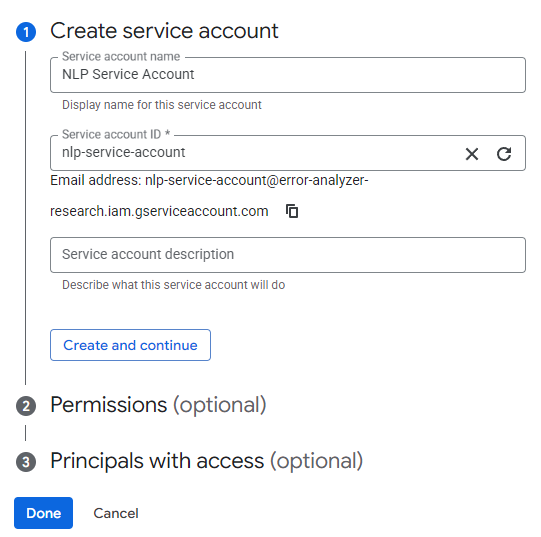
- Click Done.
- Click Service Account → Keys.
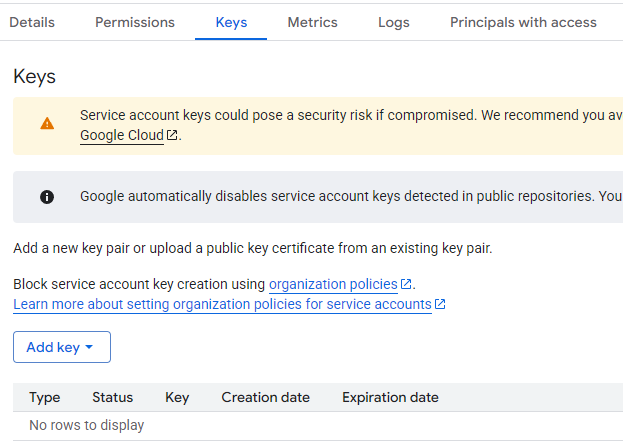
- Click Add Key → Create new key.
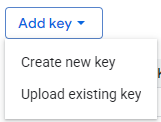
- Select JSON as the key type and click Create.
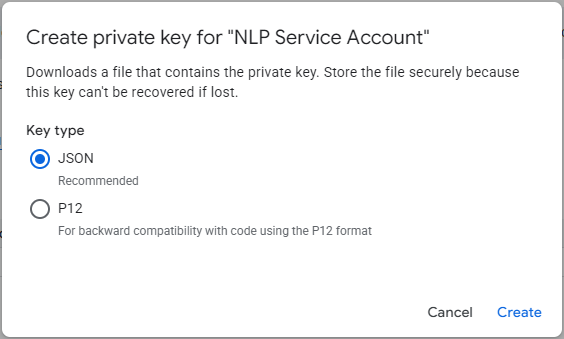
- A
.jsonfile will download to your computer. Keep this file safe. (This file contains your private Service Account credentials. Error Analyzer uses it to securely connect to Google’s NLP service on your behalf. Anyone with access to this file could potentially use your Google Cloud resources, so it should be stored in a secure location and never shared publicly.)
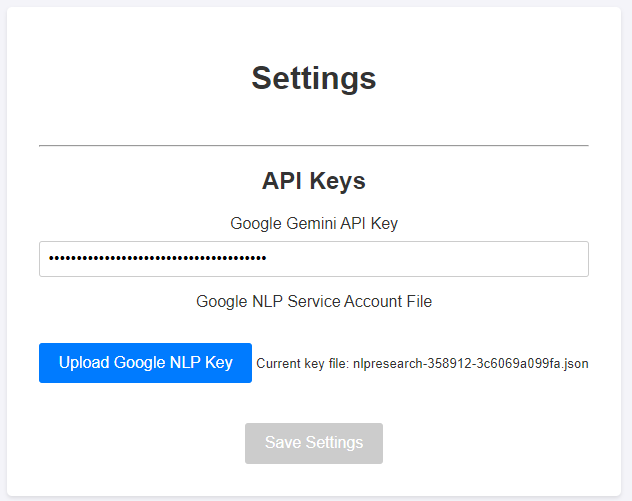
Step 6: Uploading the Key into Error Analyzer #
- Open Error Analyzer → Settings.
- Under API Keys, click Upload Google NLP Key.
- Select the
.jsonfile you downloaded. - Once uploaded, you’ll see the file name displayed.

Your Google NLP Service Account is now connected, and the NLP features in Error Analyzer are ready to use.
Step 7: Enabling Billing for Your Project #
To unlock the full power of Error Analyzer’s AI features, you need to enable billing in your Google Cloud project. The free tier is meant only for testing and has strict limits. Without billing, requests to advanced AI models will quickly hit rate limits, leading to errors or incomplete analysis. Since the strength of the application comes from its ability to assist with AI, enabling billing is essential for real research and production use.
Steps to enable billing:
- Go to the Google Cloud Console.
- At the top of the page, make sure you have selected the correct project.
- From the left menu, go to Billing.
- If you don’t already have a billing account, click Add billing account and follow the instructions to set up payment (credit card or another accepted method).
- Once your billing account is active, link it to your project by selecting Associate billing account.
- Confirm the changes.
After billing is enabled, your project will have access to the Pro advanced AI model without interruption. This ensures smooth operation and allows you to fully benefit from Error Analyzer’s AI-assisted capabilities.
Setup Complete #
After saving, the application will allow you to Create New Project in the projects page. From now on, you will have full access to all advanced features, including:
- Automated NLP analysis
- AI-driven tagging suggestions
- Project-wide summaries and visualizations
This step only needs to be performed once. Your key will remain saved in the application’s configuration until you replace or delete it.
⚠️ Important note for researchers: The AI engine is powerful but not infallible. Automated analysis may sometimes misclassify words, misinterpret syntax, or miss subtle contextual details. Use the system’s output as computational support, not as unquestionable evidence. Always validate results with your own linguistic expertise before drawing conclusions or publishing findings.